A repair can look finished long before it is ready to accept. After curing, the engineer or inspector still needs to determine whether the patch is sound, well bonded, properly finished, and documented against the project requirements. Post-repair sounding is one practical part of that decision. Used with visual inspection, records, and any specified bond testing, it helps the team find hollow areas, cracking, soft material, or debonding before the repair is handed over.
This guide describes a disciplined inspection workflow for cured concrete patches in buildings and bridges. It is not a substitute for the repair design, the material manufacturer’s instructions, or the acceptance criteria in the contract. A dull hammer response alone does not establish structural capacity; it is a screening observation that must be assessed in context.
What post-repair sounding can and cannot tell you
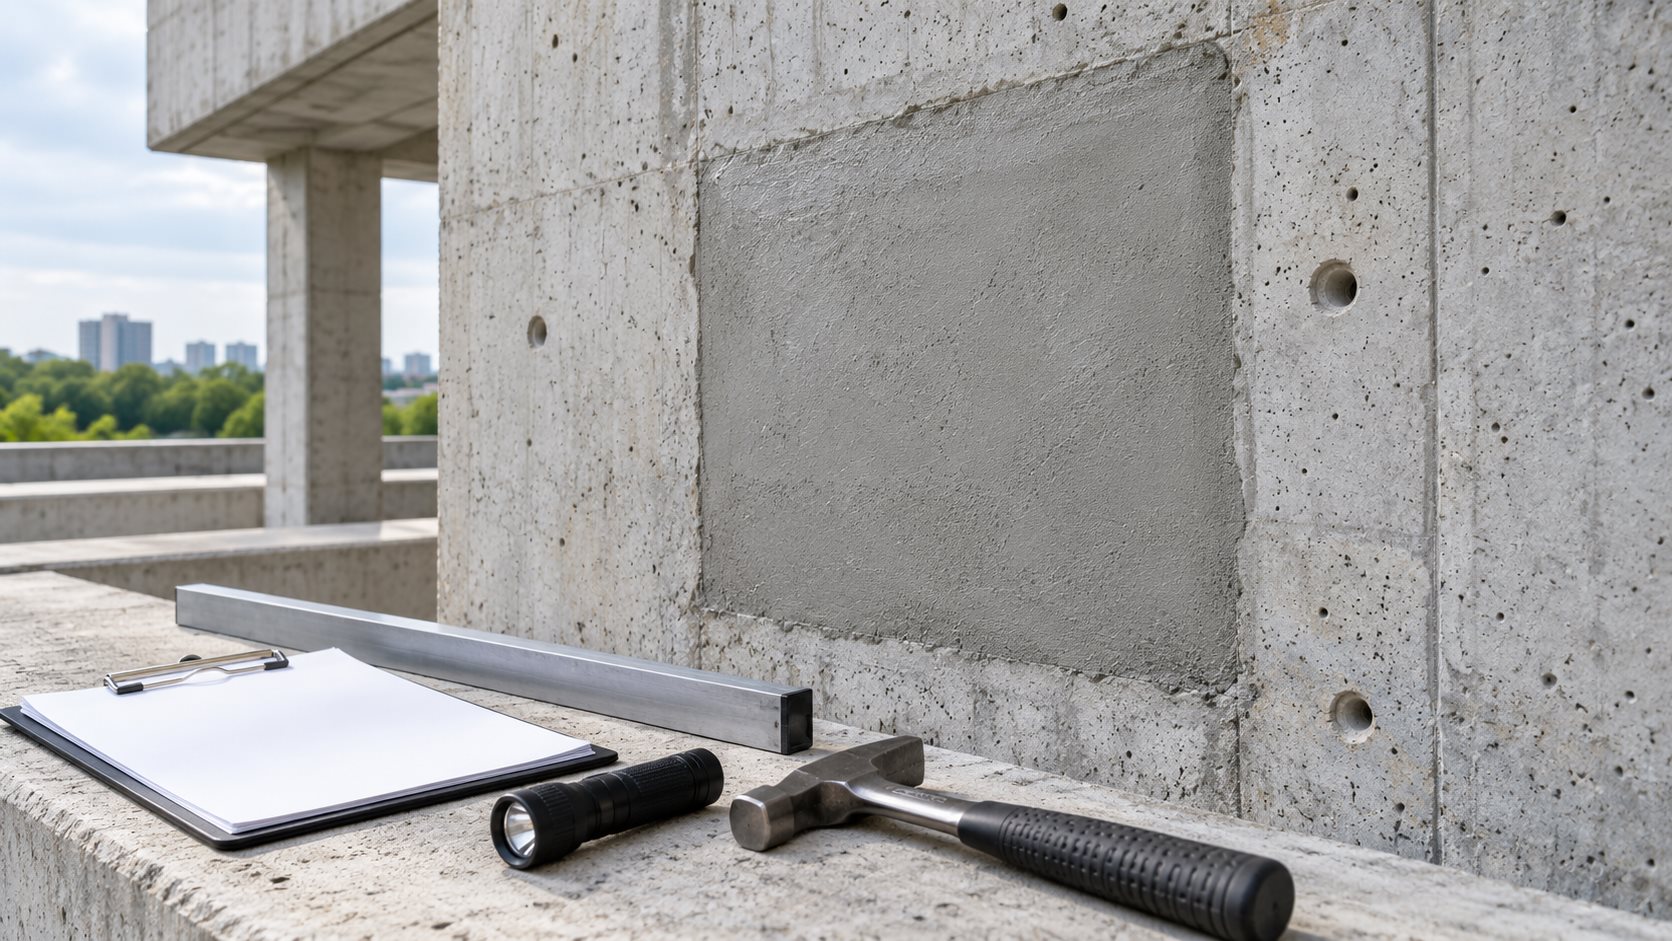
Sounding is a comparative field technique. An inspector lightly taps a cured repair and adjoining concrete with a suitable hammer, chain, or other approved tool, listens for a change in response, and maps areas that warrant closer review. The objective is to distinguish a broadly consistent, solid response from a distinctly hollow or dull response that may indicate poor bond, an internal void, or unsound material.
The technique is useful because the repair interface is hidden after placement. FHWA guidance for partial-depth repairs likewise treats sounding as a way to locate unsound concrete and stresses that successful repairs begin with removing deteriorated material. After repair, the same disciplined observation can help an acceptance team focus on areas needing further investigation. However, sounding is influenced by patch thickness, geometry, moisture, reinforcement, form ties, and the inspector’s technique. It should never be converted into a universal pass/fail sound without project-specific criteria.
Start with the acceptance plan, not the hammer
Before anyone inspects, assemble the approved repair submittal, repair-area drawings, batch and placement records, curing record, environmental logs, and prior hold-point releases. Confirm the repair’s required age or strength condition before inspection. A patch that is still in its prescribed curing period should not be treated as a final acceptance candidate simply because its surface feels hard.
Define who will inspect, the accessible faces, the sounding grid or coverage, the comparison areas, the expected documentation, and the escalation path. For overhead, vertical, or difficult-to-access repairs, the plan must also address access and fall protection; inspection convenience is not a reason to create an unsafe exposure. Link the acceptance record to the placement record, rather than leaving an isolated checklist with no way to trace materials or corrective work.
Set clear hold points
- Verify that curing, formwork removal, and any specified strength release have been completed before final inspection.
- Confirm the repair boundaries and any changes discovered during removal against the approved disposition.
- Record visible cracking, shrinkage separation, honeycombing, edge damage, discoloration, or leakage before sounding.
- Agree in advance who evaluates suspect responses and who authorizes any removal or additional testing.
For a form-and-pour repair, the formwork release and curing handover are separate controls from final acceptance. Our guides to concrete repair formwork removal and form-and-pour concrete repair explain why an exposed face is not automatically an accepted repair.
A practical sounding and visual-inspection sequence
1. Establish a comparison response
Begin on nearby, known-sound concrete of a similar thickness and restraint condition where feasible. Then tap several locations across the repair and along its perimeter. Use consistent, light blows: forceful impacts can damage a young or marginal repair and make results less repeatable. Keep the tool, impact style, and inspector consistent within one mapped area.
2. Work systematically and map observations
Use a marked grid, repair sketch, or scaled photo. Inspect the center, corners, edges, and transitions to existing concrete. Pay particular attention to re-entrant corners, congested reinforcement zones, changes in depth, and locations around embedded items. Do not make a sketch from memory at the end of the day. Mark the location, date, inspector, tool, comparative response, and any associated visible condition while the observation is made.
3. Separate observations from conclusions
Write what was observed—for example, a localized dull response at a perimeter location accompanied by a hairline crack—instead of prematurely labeling the repair as failed. The engineer can then compare that record with repair thickness, reinforcement layout, placement sequence, and specification limits. This distinction protects both the owner and contractor from inappropriate demolition based on an ambiguous field cue.
4. Escalate suspect areas proportionately
A distinctly different response, a crack at the interface, loose material, or seepage calls for a documented engineering review. The next step may be repeat sounding by another qualified inspector, limited exploratory work, a specified nondestructive method, or a bond-strength test. Pull-off testing is one possible tool when the project requires a direct bond-related measurement; it requires a defined test method and acceptance value rather than an improvised field decision. See our primer on pull-off testing for concrete repair for its role and limitations.
Common findings and sensible responses
Consistent sound response and clean visual condition: complete the record, verify other specified acceptance tests, and release only through the designated authority. A favorable sound does not waive profile, cover, geometry, curing, or documentation requirements.
Hollow or dull response without visible distress: compare it with nearby geometry and reinforcement. Recheck the area under the same conditions, map it, and seek engineering direction before opening the repair. Some configurations can alter sound without indicating a defect.
Hollow response with cracking, movement, leakage, or soft material: protect the area from service if needed, document the extent, and investigate promptly. The repair may need localized removal, substrate reassessment, revised preparation, or a broader repair strategy. Do not simply coat over a suspected interface problem.
New distress outside the repair boundary: revisit the original condition assessment. A local patch may have exposed a larger deterioration mechanism. The pre-repair survey should be updated rather than forcing a narrow patch to solve a broader issue; review the site’s guide to a concrete delamination survey before repair when planning that reassessment.
Keep sounding in a complete QA/QC system
Acceptance improves when inspection evidence follows the repair from condition survey through closeout. Daily logs should identify the repair area, substrate condition, material batch, water addition where relevant, placement time, curing method, weather, deviations, and inspector signoffs. Those facts make a later sounding observation useful instead of mysterious. Use the site’s concrete repair daily-log workflow to organize that chain of evidence.
Likewise, curing is part of the acceptance story. Inadequate moisture retention or temperature control can contribute to early cracking and poor long-term performance even when a patch initially sounds solid. Maintain the specified curing protection and document its removal; our concrete repair curing guide outlines the field controls that belong in that record.
Limits that owners should understand
Post-repair sounding is not a design check, a strength test, or proof that corrosion has stopped. It may not reliably identify every deep void or distinguish all interface conditions. Results can vary with thickness, moisture, reinforcement, backing conditions, access, and operator judgment. For safety-critical elements, unusual loading conditions, or any repair with a concerning response, obtain evaluation from the licensed design professional responsible for the work.
A form-face release is not a load-transfer certificate or a final repair acceptance. The best outcome is a transparent decision record: what was inspected, what was observed, which criteria applied, what was escalated, and who accepted the completed work.
FAQ
When should a concrete patch be sounded?
Sound it only when the repair has reached the inspection stage defined by the project, after required curing and release conditions. Avoid treating an early-age tap test as final acceptance.
Does a hollow sound always mean a failed repair?
No. It is a screening observation. Thickness, reinforcement, geometry, and moisture can affect the response. Map the area, compare it with known-sound locations, and follow the project’s engineering escalation process.
Can sounding replace pull-off testing?
No. Sounding and pull-off testing answer different questions. If a project specifies bond testing, use the specified method and acceptance criteria; sounding can help target observations but does not replace that requirement.
Plan the acceptance record before the repair starts
Structural Rehab can help owners and project teams turn repair drawings and specifications into practical QA/QC hold points, inspection records, and closeout evidence. Engage the responsible engineer early when findings point beyond a local patch or when acceptance criteria need clarification.
Sources
- Federal Highway Administration: Partial-Depth Repairs—Construction
- Texas Department of Transportation: Major Spall Repair and Concrete Replacement
- Federal Highway Administration: Tensile Bond Tester
- ASTM C1583/C1583M: Tensile Strength of Concrete Surfaces and Bond Strength of Repair Materials
Need a professional structural assessment?
Book a consultation with Structural Rehab to evaluate repair priorities, corrosion risks, and rehabilitation options before damage escalates.
Book Consultation