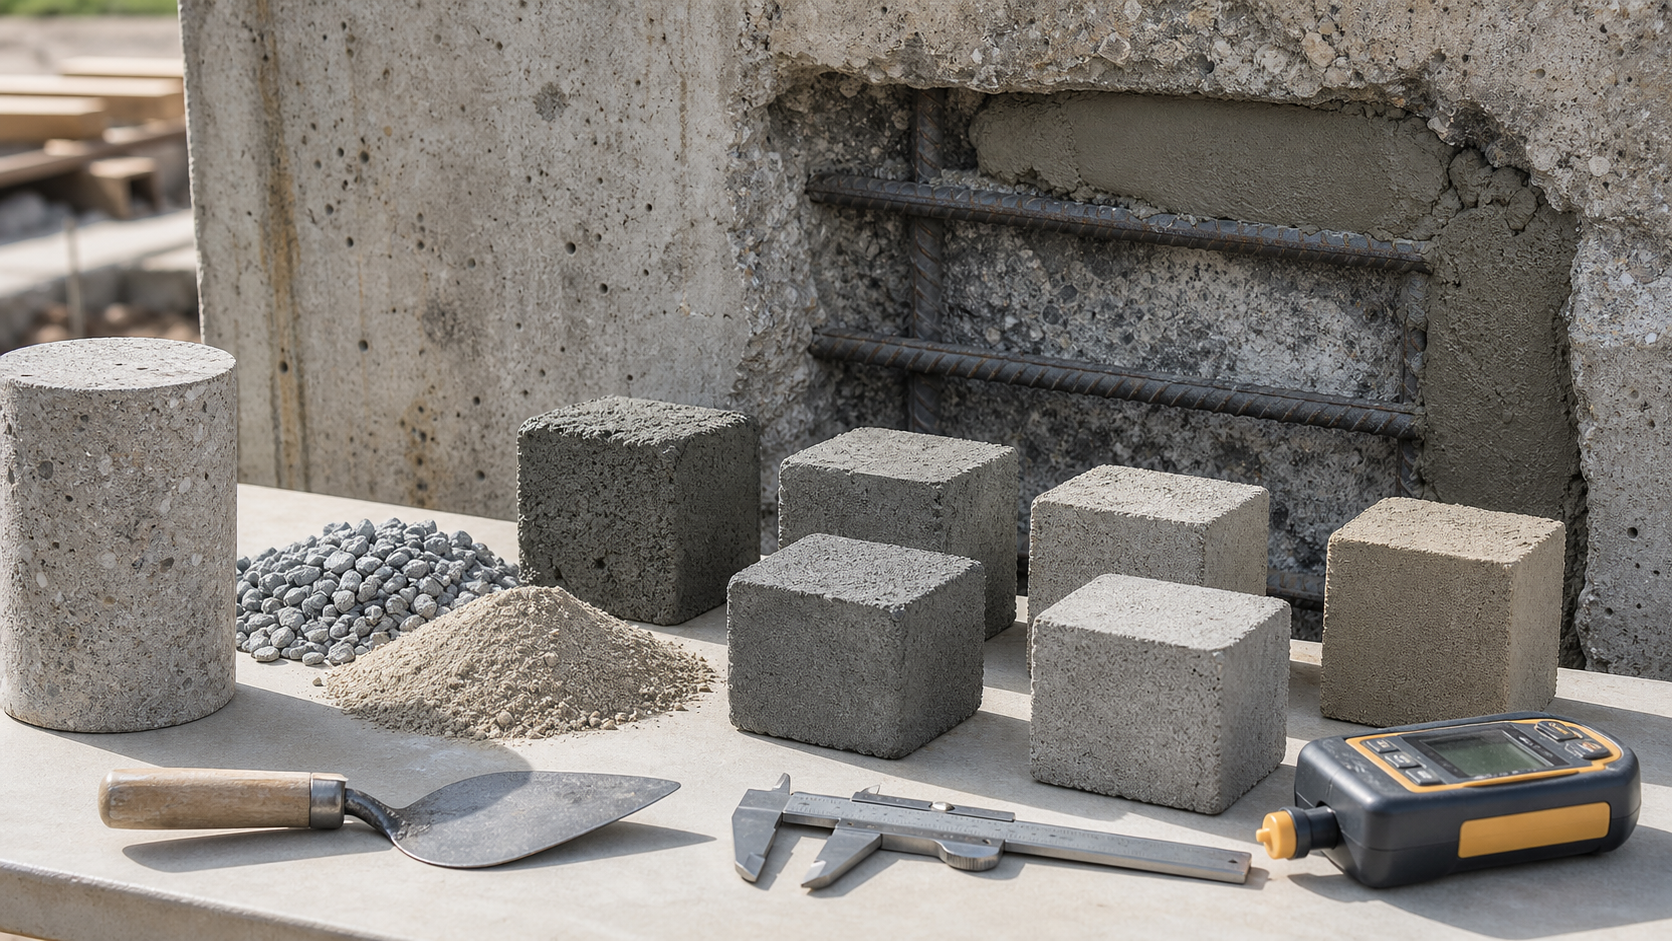
Concrete repair material selection is not a catalog exercise. The correct repair mortar, concrete, overlay, grout, or protection system has to work with the existing structure, the exposure, the repair geometry, and the construction method. A high-strength product can still fail early if it shrinks away from the substrate, traps corrosion activity, has the wrong modulus, cannot be consolidated, or is placed outside its curing window.
For owners, the practical question is simple: will this repair material restore the intended function and remain compatible with the old concrete after years of load, moisture, temperature change, and inspection? For engineers, the answer requires a sequence of checks before a product name is written into the specification.
Start with the repair objective, not the product type
The same damaged member may need section restoration, corrosion mitigation, waterproofing, strengthening, fire resistance, abrasion resistance, or only local serviceability improvement. Each objective pushes the material choice in a different direction. A formed-and-poured repair for a beam soffit is not the same decision as a thin horizontal overlay, a vertical patch, a pumped void fill, or a structural enlargement.
ACI PRC-546-14 describes concrete repair as a coordinated selection of materials and methods for repairing, protecting, and strengthening concrete structures. Its table of contents separates surface preparation, repair materials, crack repair, concrete replacement, anchorage, protective systems, and quality control, which is a useful reminder that material choice cannot be isolated from preparation and installation. ACI PRC-546-14 also includes a specific chapter section on material selection.
Seven compatibility checks before specifying repair mortar or concrete
1. Structural demand and load path
If the repair reinstates structural capacity, the material must be part of an engineered load path. Compressive strength alone is not enough. The design should address bond, shear transfer, reinforcement development, interface roughness, supplemental reinforcement, and whether the repair is expected to act compositely with the parent concrete. ACI CODE-562-25 includes repair design topics such as interface bond of cementitious materials, materials, section enlargement, supplemental reinforcement, durability, and quality assurance. ACI CODE-562-25 frames repair as assessment plus design, not product substitution.
2. Substrate condition and surface profile
The substrate controls the bond that the material can actually develop. Weak laitance, microcracked concrete, dust, chloride-contaminated cover concrete, saturated pores, or smooth saw-cut surfaces can defeat a good repair material. Before material selection is finalized, the repair team should define removal limits, roughness, cleaning, moisture condition, edge geometry, and pull-off testing where bond is critical. For more on substrate roughness, see the Structural Rehab guide to concrete surface profile before repair.
3. Dimensional stability and shrinkage restraint
Repair materials are often restrained by the surrounding concrete and embedded reinforcement. Drying shrinkage, thermal movement, and autogenous shrinkage can create tensile stress at the interface or within the repair. Large patches, thin overlays, and long strip repairs are especially sensitive. Low-shrinkage behavior, proper aggregate extension, curing, joint layout, and staged placement may matter more than a high early compressive strength number.
4. Elastic modulus and movement compatibility
A repair material that is much stiffer than the parent concrete may attract load or create stress concentrations. A material that is too flexible may not transfer demand as intended. This is one reason repair design should identify whether the patch is cosmetic, protective, load sharing, or fully structural. Movement from live load, creep, temperature, and vibration should be considered before selecting polymer-modified mortars, cementitious mortars, microconcrete, epoxy mortars, or overlay systems.
5. Exposure and corrosion environment
A repair in a chloride-contaminated deck, marine column, parking structure, or leaking joint zone must be selected around durability, not just patch strength. Chloride content, cover depth, moisture, carbonation, resistivity, and ongoing water paths influence whether the repair needs corrosion mitigation, coatings, membranes, galvanic anodes, or cathodic protection. Use the material selection step with corrosion data from chloride testing and concrete resistivity testing, not only a visual survey.
6. Placement method and access
The best material on paper may be impossible to install correctly. Overhead repairs need sag resistance and workmanship controls. Deep formed repairs need flow, consolidation, venting, and aggregate sizing. Congested reinforcement may require pumpable microconcrete or preplaced aggregate methods. Large vertical surfaces may be more suitable for shotcrete when nozzle access, rebound control, curing, and testing are managed. See Structural Rehab’s article on shotcrete structural concrete repair for the QA/QC issues that come with that method.
7. Curing, inspection, and maintenance access
Repair materials are sensitive to curing temperature, evaporation, substrate moisture, mixing energy, pot life, and early loading. Specifications should define inspection hold points, test panels or mockups where appropriate, batch records, curing method, strength testing, bond testing, and acceptance criteria. For bond-critical work, the repair plan should connect the material selection to pull-off adhesion testing instead of leaving acceptance to visual appearance.
Common repair material families and where they fit
Cementitious repair mortars are common for vertical, overhead, and small-to-medium patch repairs. They can be prepackaged, polymer modified, fiber reinforced, rapid setting, or shrinkage compensated. They are practical when the repair thickness and exposure match the manufacturer’s tested range and the substrate preparation is controlled.
Conventional concrete and microconcrete are useful for larger section restoration, formed repairs, and member enlargements. Aggregate size, flow, consolidation, thermal behavior, and curing are major design concerns. For structural repairs, reinforcement detailing and interface shear transfer must be engineered.
Polymer-modified mortars can improve workability, adhesion, and permeability characteristics in some repairs, but the specification should address compatibility, curing, temperature limits, and exposure. They are not automatically better for every structural repair.
Epoxy and resin-based materials can provide high bond strength and low permeability in selected applications, including crack injection and anchorage-related work. Their limits include moisture sensitivity, temperature sensitivity, fire behavior, creep, and stiffness mismatch. They should not be used as a generic substitute for diagnosing the cause of cracking or corrosion.
Overlays and toppings can restore surface function, cover reinforcement, improve slope, and protect decks or slabs. Thin overlays demand tight control of surface profile, bond, moisture, curing, and crack movement. Where corrosion is active, an overlay alone may conceal the problem rather than control it.
Protective systems such as sealers, coatings, membranes, corrosion inhibitors, galvanic anodes, or cathodic protection can be part of the material strategy when exposure is driving deterioration. For patch repairs around corrosion, review whether galvanic anodes in concrete patch repairs are appropriate for the geometry and environment.
A practical selection workflow
- Define the repair objective: structural capacity, durability, serviceability, waterproofing, aesthetics, or a combination.
- Map deterioration cause and extent using visual survey, sounding, cover, chloride, corrosion, moisture, and NDE data as needed.
- Confirm whether temporary shoring, load reduction, or sequencing is required before removal.
- Select the material family only after repair geometry, exposure, substrate preparation, and placement method are known.
- Check compatibility for strength, modulus, shrinkage, thermal movement, permeability, corrosion risk, and bond.
- Require manufacturer data that matches the actual thickness, orientation, temperature, moisture condition, and exposure.
- Specify hold points for removal, reinforcement cleaning, surface profile, substrate moisture, mixing, placement, curing, and testing.
- Document what maintenance or monitoring is needed after repair.
Mistakes that lead to early repair failure
The most common failures are not mysterious. They usually come from selecting a product before diagnosing the deterioration mechanism; using high-strength material with high shrinkage in a restrained patch; ignoring chloride-contaminated concrete around a repair; bonding to weak or smooth substrate; placing material outside its thickness range; skipping curing; or accepting the work without bond or durability evidence. Material compatibility is a repair design decision, not a catalog exercise.
When the repair is structural, the engineer should also avoid relying on a manufacturer’s data sheet as the design basis. Product data may support specification, but it does not replace assessment, load path checks, repair detailing, construction documents, inspection, and project records. ACI CODE-562-25 explicitly treats assessment, design, durability, construction documents, and quality assurance as connected parts of concrete repair.
Owner checklist before approving a repair material
- Does the proposed material address the actual deterioration cause?
- Is the repair structural, protective, cosmetic, or a combination?
- Has the engineer specified substrate preparation and acceptance criteria?
- Are chloride, moisture, carbonation, or corrosion conditions relevant?
- Is the material suitable for the repair thickness, orientation, and access?
- Are shrinkage, modulus, bond, curing, and thermal movement addressed?
- Will a mockup, test panel, pull-off test, or field trial be required?
- Who records batch numbers, weather, substrate condition, curing, and test results?
FAQ
Is higher compressive strength always better for concrete repair?
No. Strength must be appropriate for the repair objective, but high strength does not guarantee compatibility. Shrinkage, bond, modulus, permeability, curing, placement method, and corrosion environment can control performance.
When should a polymer-modified repair mortar be used?
Use it when its tested properties match the substrate, exposure, thickness, orientation, and curing conditions. It should not be selected only because it sounds more advanced than cementitious mortar.
Can repair material selection stop reinforcement corrosion?
Sometimes it can help, but the answer depends on chloride levels, moisture, cover, electrical continuity, repair geometry, and exposure. Active corrosion often requires a broader corrosion-control strategy rather than patch material alone.
Should owners require pull-off adhesion testing?
For bond-critical overlays, patches, coatings, and strengthening interfaces, pull-off testing or other project-specific acceptance tests can be valuable. The test should be specified before work starts, including location, timing, minimum values, and failure-mode reporting.
Sources
- ACI PRC-546-14, Guide to Concrete Repair
- ACI CODE-562-25, Assessment, Repair, and Rehabilitation of Existing Concrete Structures
- International Concrete Repair Institute technical guidelines
- USACE EM 1110-2-2002, Evaluation and Repair of Concrete Structures
Need help choosing a repair system? Structural Rehab can review deterioration data, repair objectives, and constructability constraints before a material is specified. You can also download our concrete and steel rehabilitation ebook for owner-focused repair planning guidance.
Need a professional structural assessment?
Book a consultation with Structural Rehab to evaluate repair priorities, corrosion risks, and rehabilitation options before damage escalates.
Book Consultation